一、参考文档与信息说明
KTransformers 是由清华大学发起的一个项目,它利用 DeepSeek 模型的 MoE
架构特性,将专家模型的权重加载到内存上,并分配 CPU 完成相关计算,同时将
ML/KV Cache 加载到 GPU 上,从而实现 CPU+GPU
混合推理。这种方法能够在最大化降低显存占用的同时,保持一定的推理速度。KTransformers
项目旨在解决大模型本地部署难题,实现资源有限情况下大模型的高效本地部署,让更多人能够在自己的设备上运行曾经遥不可及的大型模型。
1.1 参考文档
参考文章:
KT的github仓库:https://github.com/kvcache-ai/ktransformers/tree/v0.2.3post2
安装文档:Kt官方安装文档(https://kvcache-ai.github.io/ktransformers/en/install.html)
https://mp.weixin.qq.com/s/1keAGOQlkTf_dKrzWmCRZQ
https://mp.weixin.qq.com/s/C4aTsxzYGV7bFrKyx6juug
https://kq4b3vgg5b.feishu.cn/wiki/QJ5ywpjnvieTKZk5kPHcG3sLnkd
模型下载页面:
https://modelscope.cn/models/unsloth/DeepSeek-R1-GGUF/files
下载模型文件:
https://modelscope.cn/models/unsloth/DeepSeek-R1-GGUF/resolve/master/DeepSeek-R1-Q4_K_M/DeepSeek-R1-Q4_K_M-00001-of-00009.gguf
只下载DeepSeek-R1-Q4_K_M这个量化版本:https://www.modelscope.cn/models/unsloth/DeepSeek-R1-GGUF/feedback/issueDetail/23220
1.2 信息说明
第1次此次部署是在Centos8-x86_64物理服务器上部署,一直有报错,相关报错信息描述在第2章。是其他同学的服务器,后建议其在物理服务器上创建ubuntu2204容器进行操作。
第2次,准备在自己的ubuntu20.04
LTS-x86_64物理服务器上进行操作,成功。
二、Centos8上报错处理
2.1
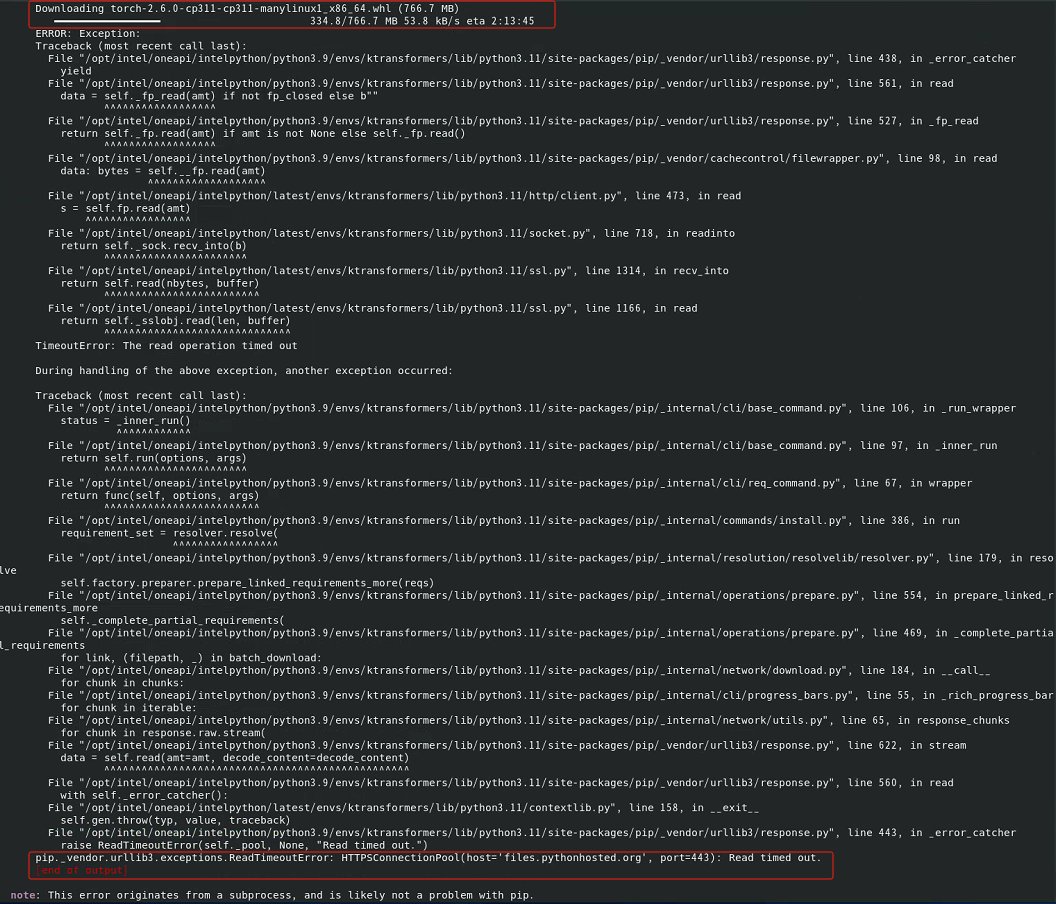
使用torch2.6.0时,KT仓库根目录下执行"pip install ."报“Read time
out”
image-20250315204632081
#换成使用torch2.4.1
pip install torch==2.4.1 torchvision==0.19.1 torchaudio==2.4.1 --index-url https://download.pytorch.org/whl/cu124
#再指定pip安装源为清华源(因为KT就是清华主导的开源项目):
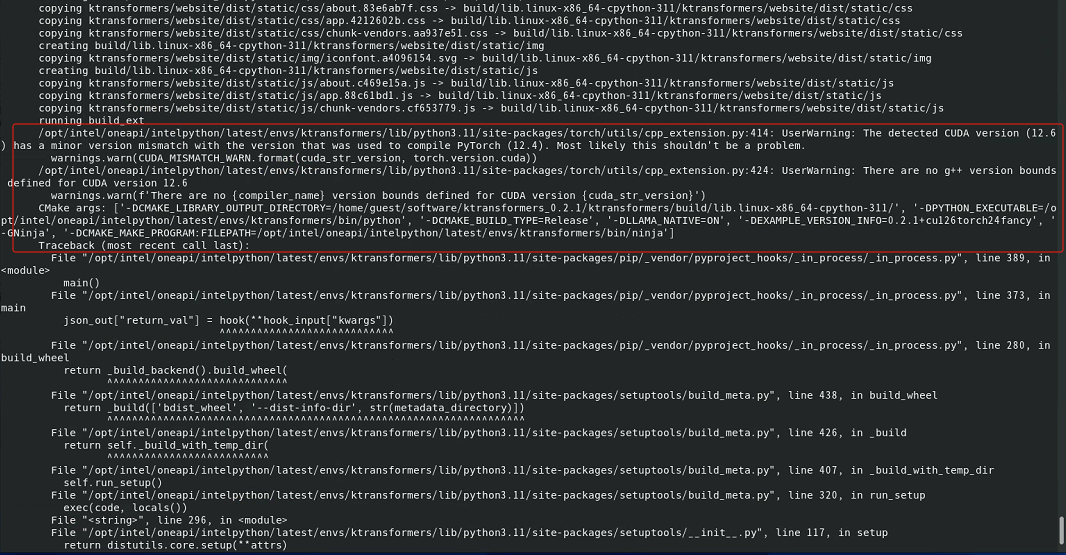
但报如下错误(报错时,安装的cuda版本是cuda_12.6.r12.6/compiler.34431801_02.4.1+cu124
如下提示探查到的CUDA12.6小版本与用来编译当前使用PyTorch2.4.1所使用的CUDA版本(应该是12.4)不匹配,但大部分情况下这不是一个严重问题,所以只是一个警告信息。
第2行提示,不存在为CUDA12.6定义的g++版本边界。
image-20250315211142720
image-20250315211246828
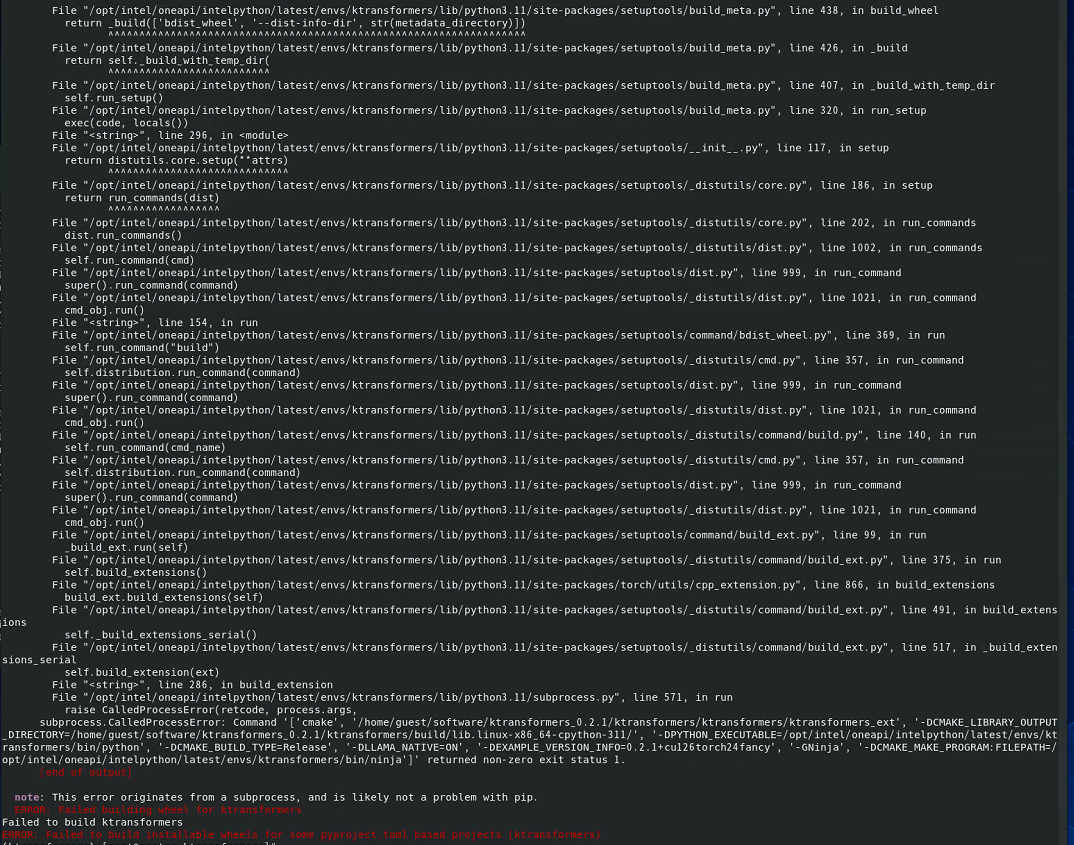
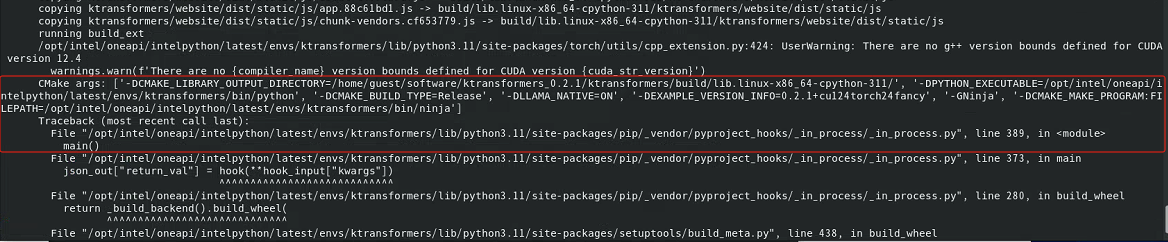
然后,安装cuda12.4+torch2.4.1,再执行sh install.sh,还有g++版本、cmake相关报错
image-20250316091400204
对于g++版本相关报错,可以考虑升级gcc与g++版本,然后再执行sh install.sh,再查看是否仍有报销
三、Ubuntu20.04 上部署
3.0 升级cmake
1 2 3 4 5 6 7 8 9 # 升级cmake版本(从3.16.3到3.23.0)
3.1 下载DeepSeek-R1-Q4_K_M
下载GGUF文件
1 2 3 4 5 6 7 8 9 10 11 12 13 14 15 16 17 # # 使用conda创建python虚拟环境 # !/bin/bash # 所有文件下载完成后,大概有600多G
1 2 3 4 5 6 7 8 9 10 11 12 13 14 15 16 # #
下载配置文件
1 2 3 4 5 6 7 root@ksp-registry:/opt/code_repos/AI_models/DeepSeek-R1-GGUF# wget https://modelscope.cn/models/unsloth/DeepSeek-R1-GGUF/resolve/master/config.json
llama.cpp运行模型(可选)
参考:https://www.modelscope.cn/models/unsloth/DeepSeek-R1-GGUF
1 2 3 4 5 6 7 8 9 10 # # root@ksp-registry:/opt/installPkgs# cd cmake-3.23.0/ # 检查系统环境并生成 Makefile(--prefix=/path 指定安装路径(默认为 /usr/local)) # root@ksp-registry:/opt/installPkgs/cmake-3.23.0# ./configure # 编译 # root@ksp-registry:/opt/installPkgs/cmake-3.23.0# make -j8 # 安装 # root@ksp-registry:/opt/installPkgs/cmake-3.23.0# make install # # update-alternatives --install /usr/bin/cmake cmake /usr/local/bin/cmake 1 –force
1 2 3 4 5 6 7 8 9 10 11 12 13 14 15 16 17 18 apt-get update# # 将生成的3个文件复制到目录llama.cpp 下
3.2 安装基础组件或依赖
3.2.1 NVIDIA驱动与cuda
1 2 3 4 5 6 7 8 9 10 11 12 13 14 15 16 17 18 19 20 21 22 # NVIDIA驱动已经安装好
1 2 3 4 5 6 7 8 9 10 11 12 13 14 15 16 17 18 19 20 21 # 安装cuda12.4 # 也已经安装好 # 编辑/root/.bashrc,添加如下内容
3.2.2 安装编译组件
1 2 3 4 5 6 7 8 9 10 11 12 13 14 15 16 17 18 19 20 21 22 23 24 25 26 apt-get update# 查看gcc版本 # 查看g++版本 # 查看cmake版本 # 查看ninja版本 # 安装基础组件
3.3 创建KT专用python虚拟环境
1 2 conda create --name kt python=3.11
KT的github仓库:https://github.com/kvcache-ai/ktransformers/tree/v0.2.3post2
安装文档:Kt官方安装文档(https://kvcache-ai.github.io/ktransformers/en/install.html)
执行安装前准备
1 2 3 4 5 6 7 8 9 10 (kt) root@ksp-registry:/opt/code_repos# git clone -b v0.2.3post2 https://gitee.com/sy-jiang/ktransformers.git# 保证此python虚拟环境使用的GNU C++标准库版本包括GLIBCXX-3.4.32 # conda提供了一个名为libstdcxx-ng的包,它包含了新版本的libstdc++,其可以通过conda-forge进行安装 # 安装PyTorch, packaging, ninja 等
初始化源码
1 2 3 4 5 6 7 8 9 10 11 12 13 # init source code # 如下llama.cpp、pybind11 两个目录是刚刚新生成的
编译kt-website
参考文档:https://kvcache-ai.github.io/ktransformers/en/api/server/website.html
1 2 3 4 5 6 7 8 9 10 11 12 13 14 15 16 17 18 19 20 # 要求Node.js>=18.3 # 如果已经通过ubuntu20默认安装源安装了nodejs,其版本太低,需要先卸载掉 # apt-get remove nodejs npm -y && sudo apt-get autoremove -y # 查看nodejs与npm版本
1 2 3 4 5 6 7 8 9 10 11 12 13 14 15 16 17 18 # 安装Vue CLI # 暂时也可不执行,后续会有步骤执行此操作 # 使用website编译ktransformers # 查看安装的kt信息
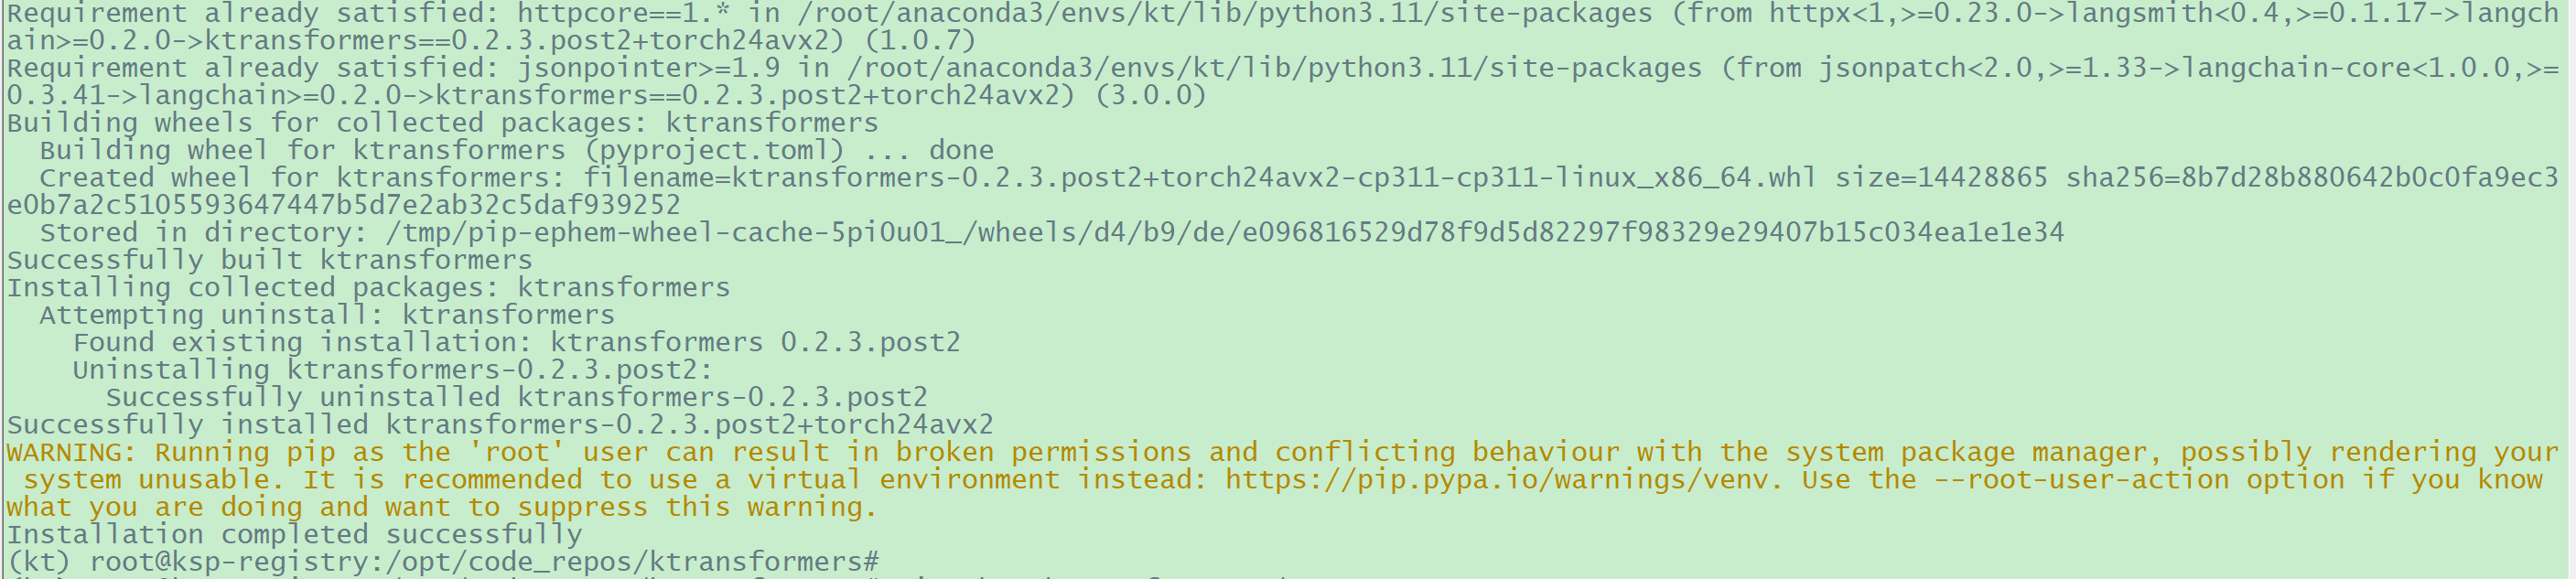
安装KT
1 2 3 4 5 6 7 # 1)对于有双槽CPU和内存是模型文件两倍大小以上的服务器 # # 2)否则,直接执行如下命令
image-20250318155035637
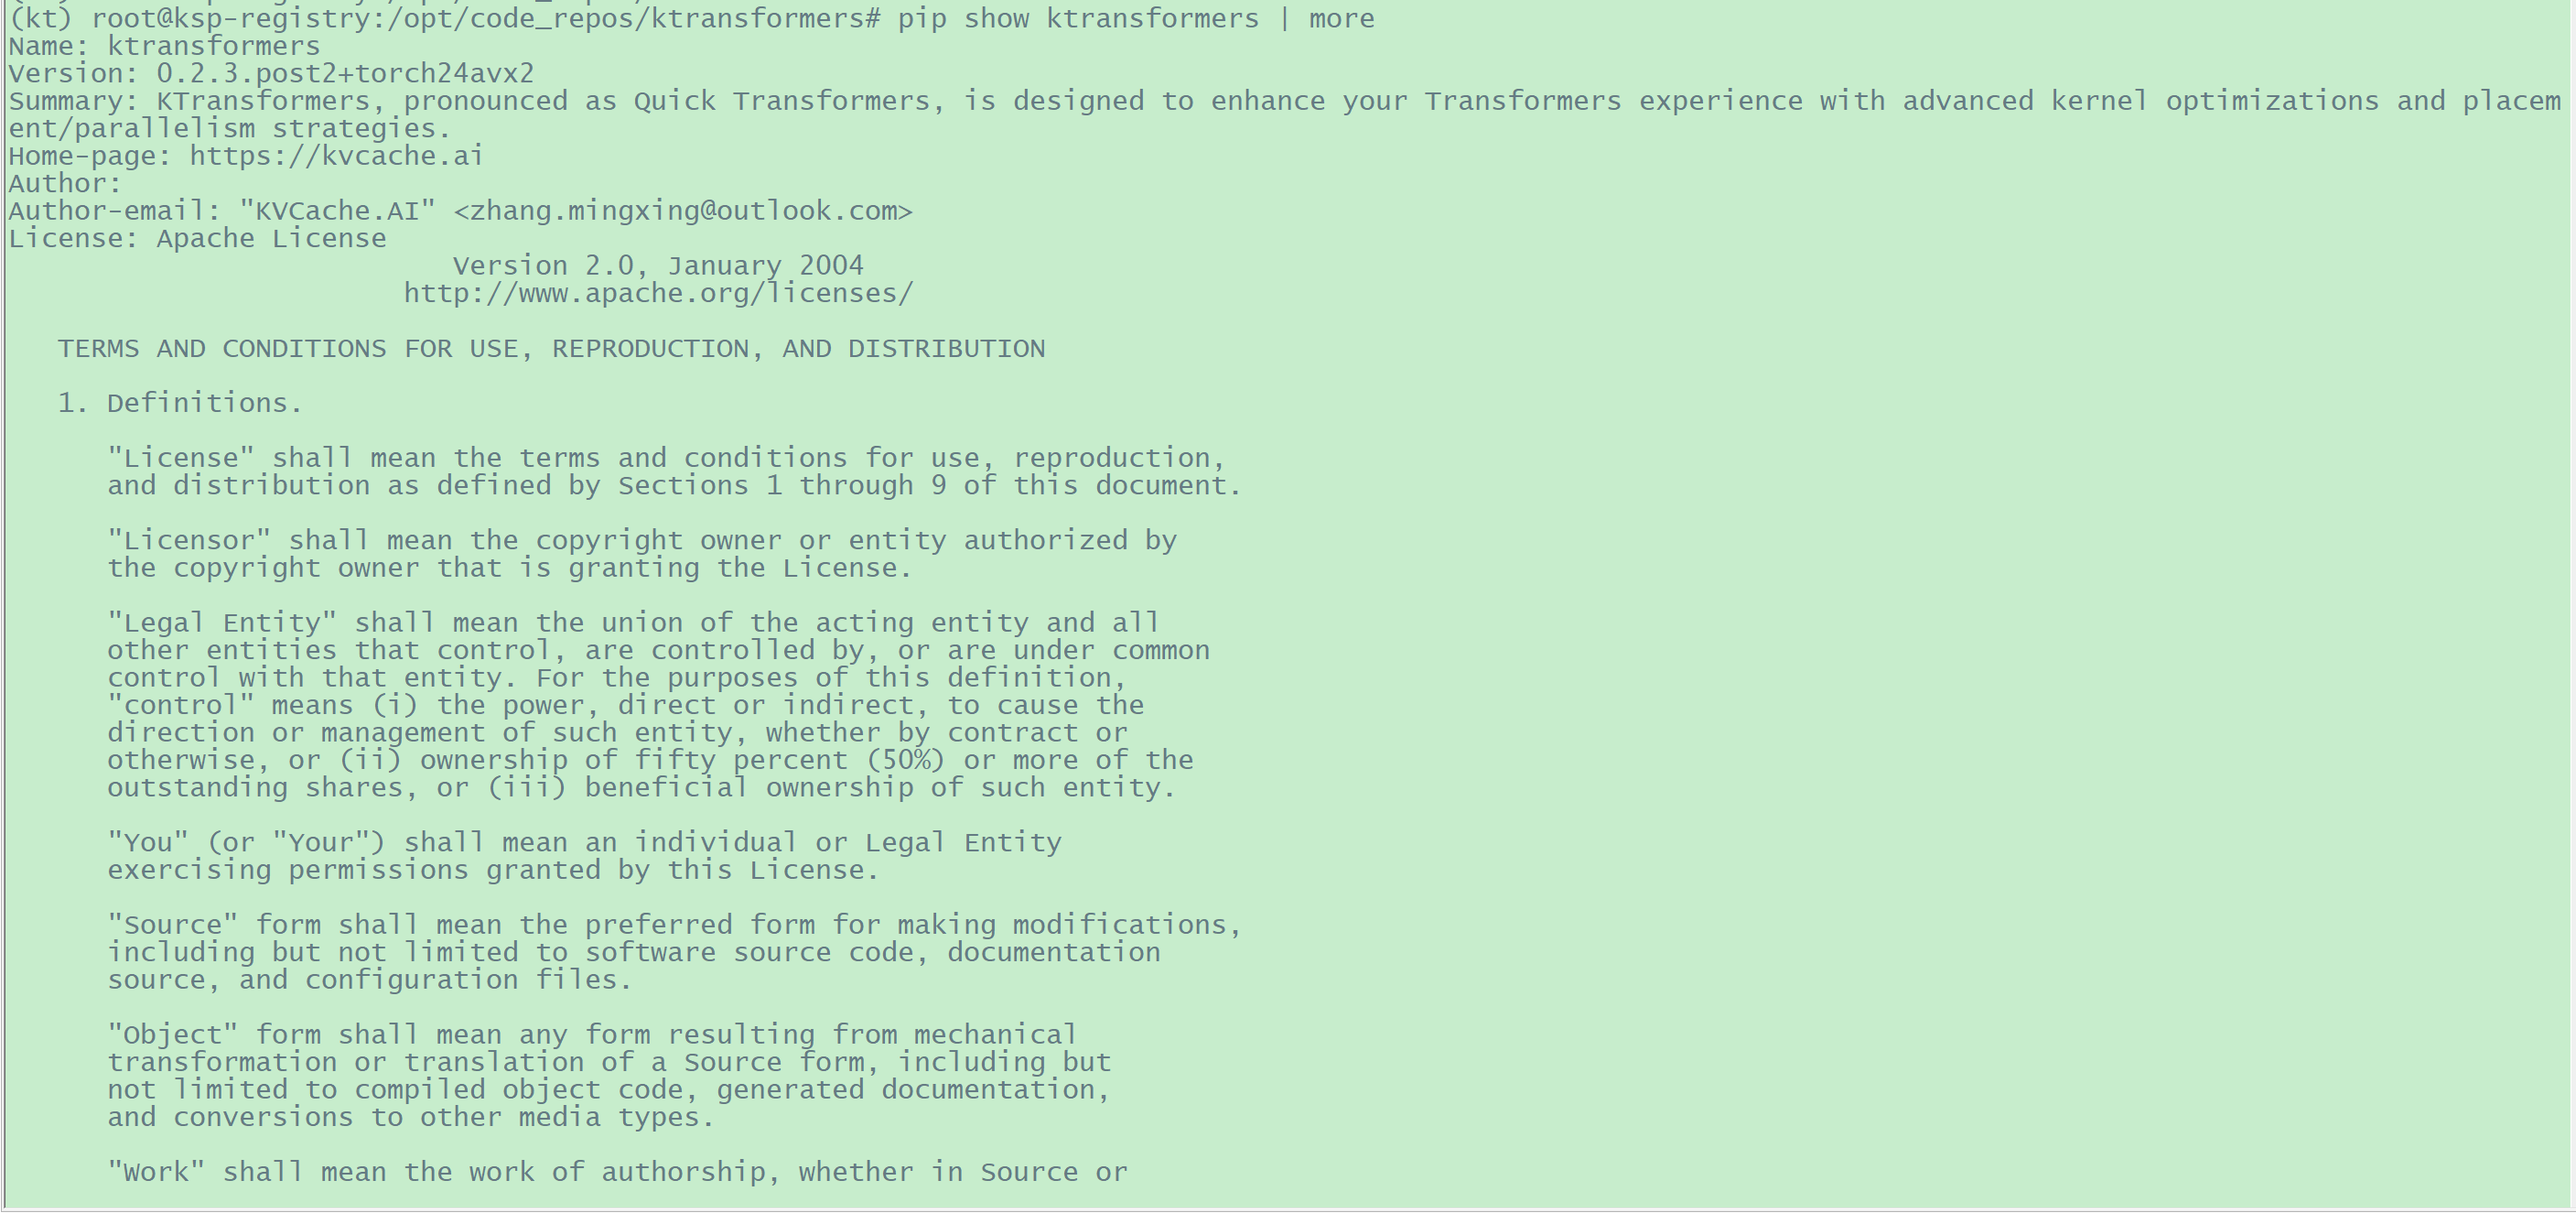
如下查看安装成功的KTransformers:pip show ktransformers
image-20250318155131355
3.5 Local Chat本地对话
参考:https://github.com/kvcache-ai/ktransformers/blob/v0.2.3post2/doc/zh/DeepseekR1_V3_tutorial_zh.md#v02-%E5%B1%95%E7%A4%BA
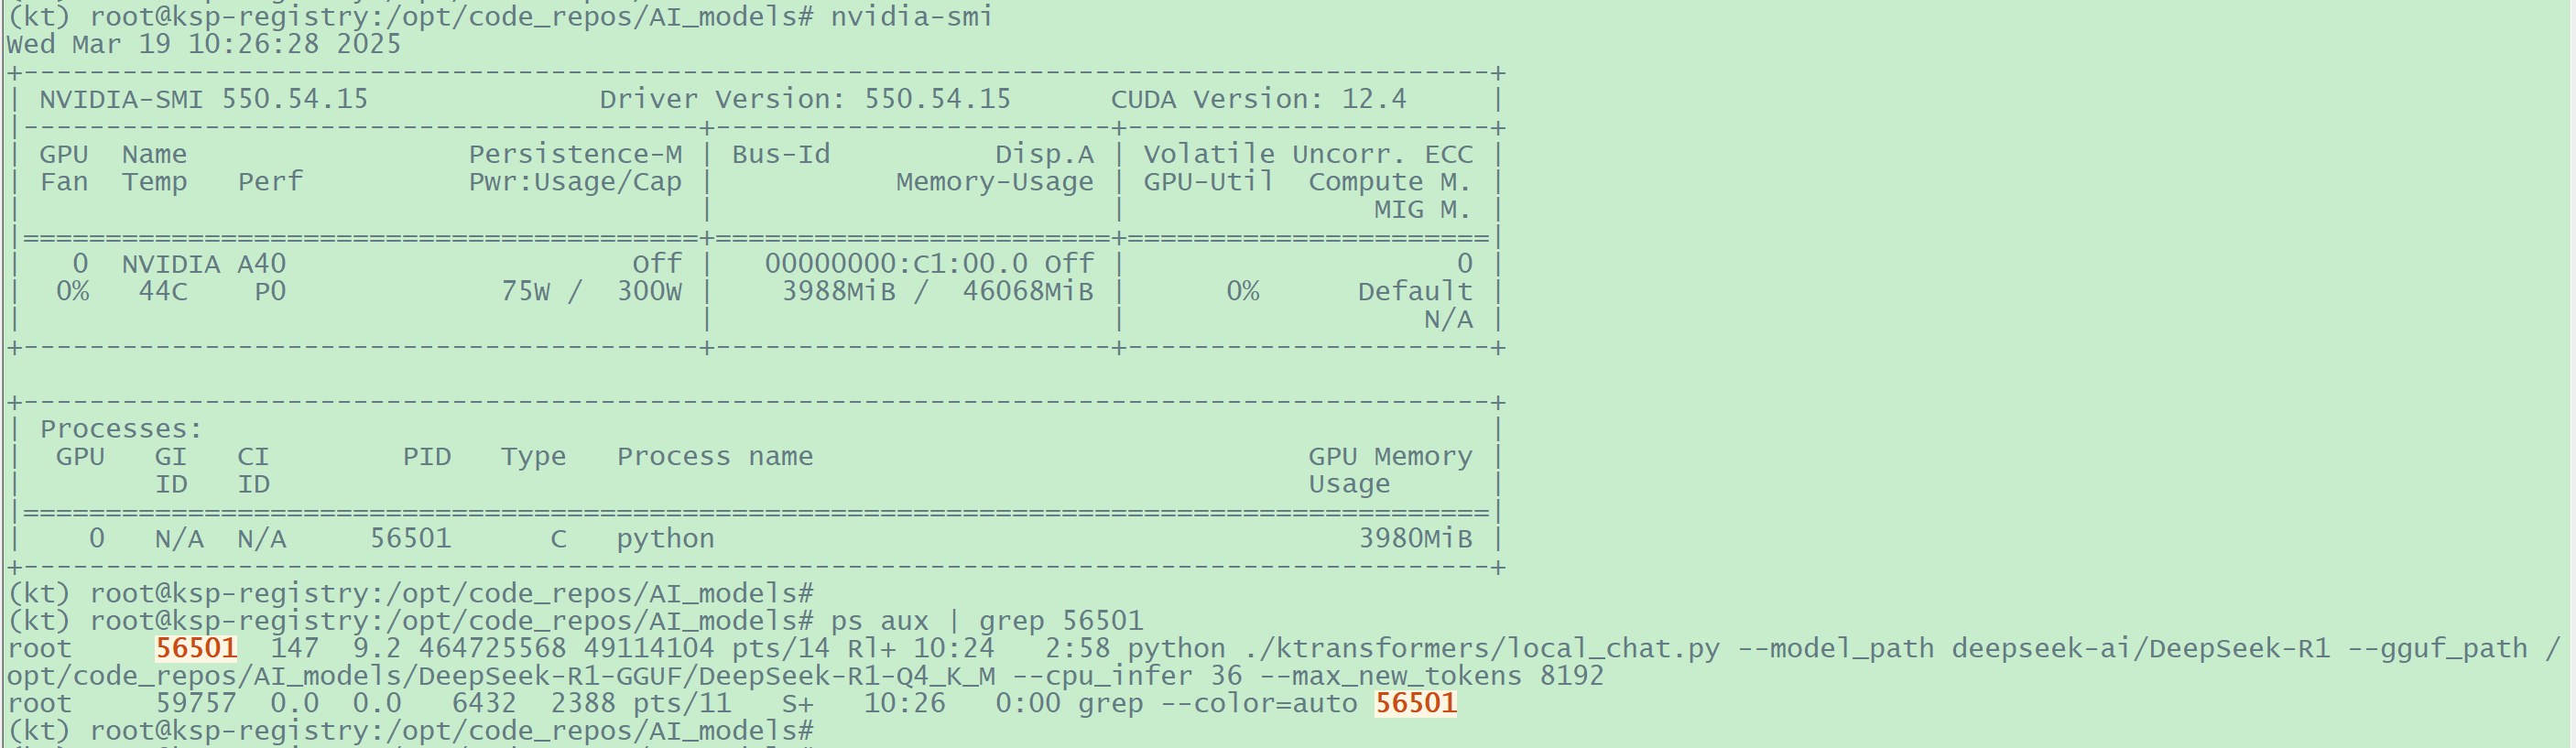
3.5.1 启动本地对话
1 2 3 4 5 6 7 8 (kt) root@ksp-registry:/opt/code_repos/ktransformers# cp ./ktransformers/models/configuration_deepseek.py /opt/code_repos/AI_models/DeepSeek-R1-GGUF# # 启动过程上,可以看到进程使用了GPU
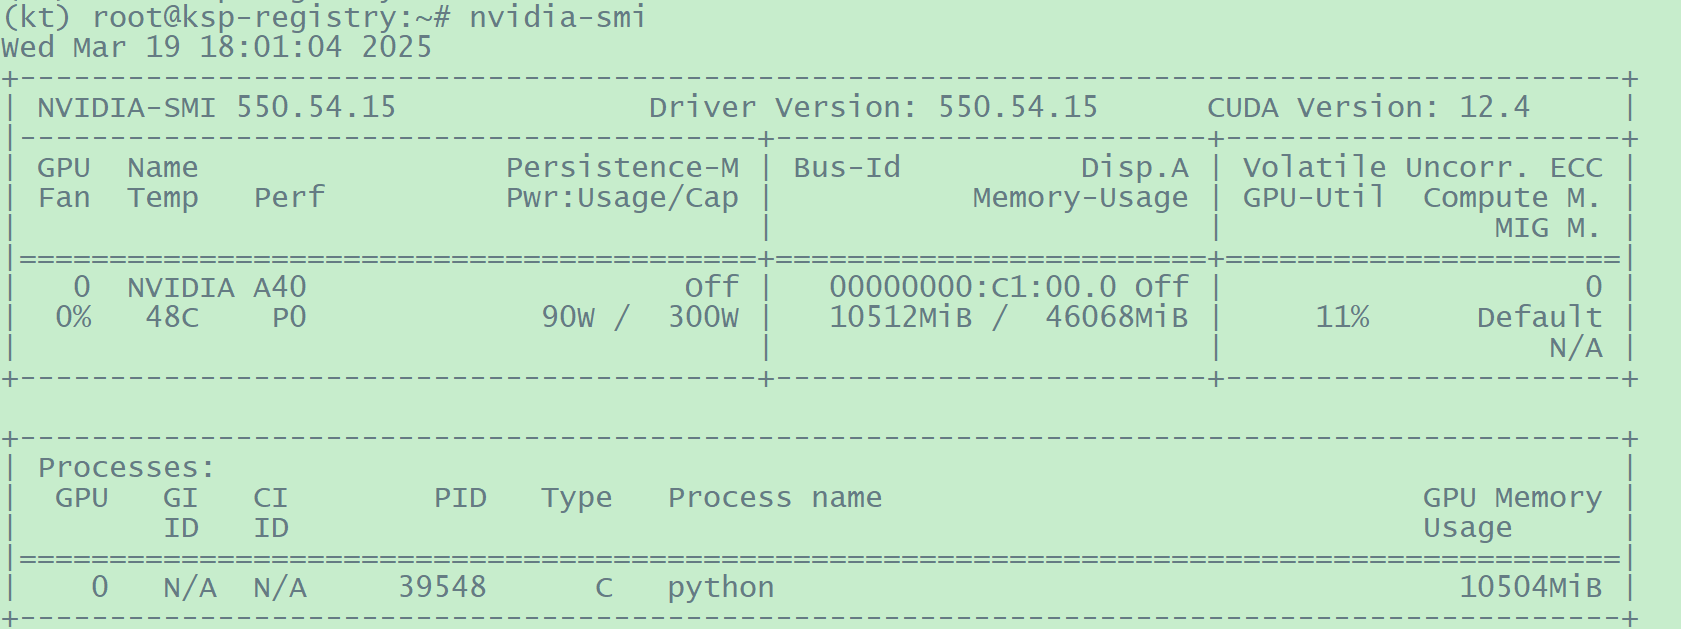
image-20250319102718590
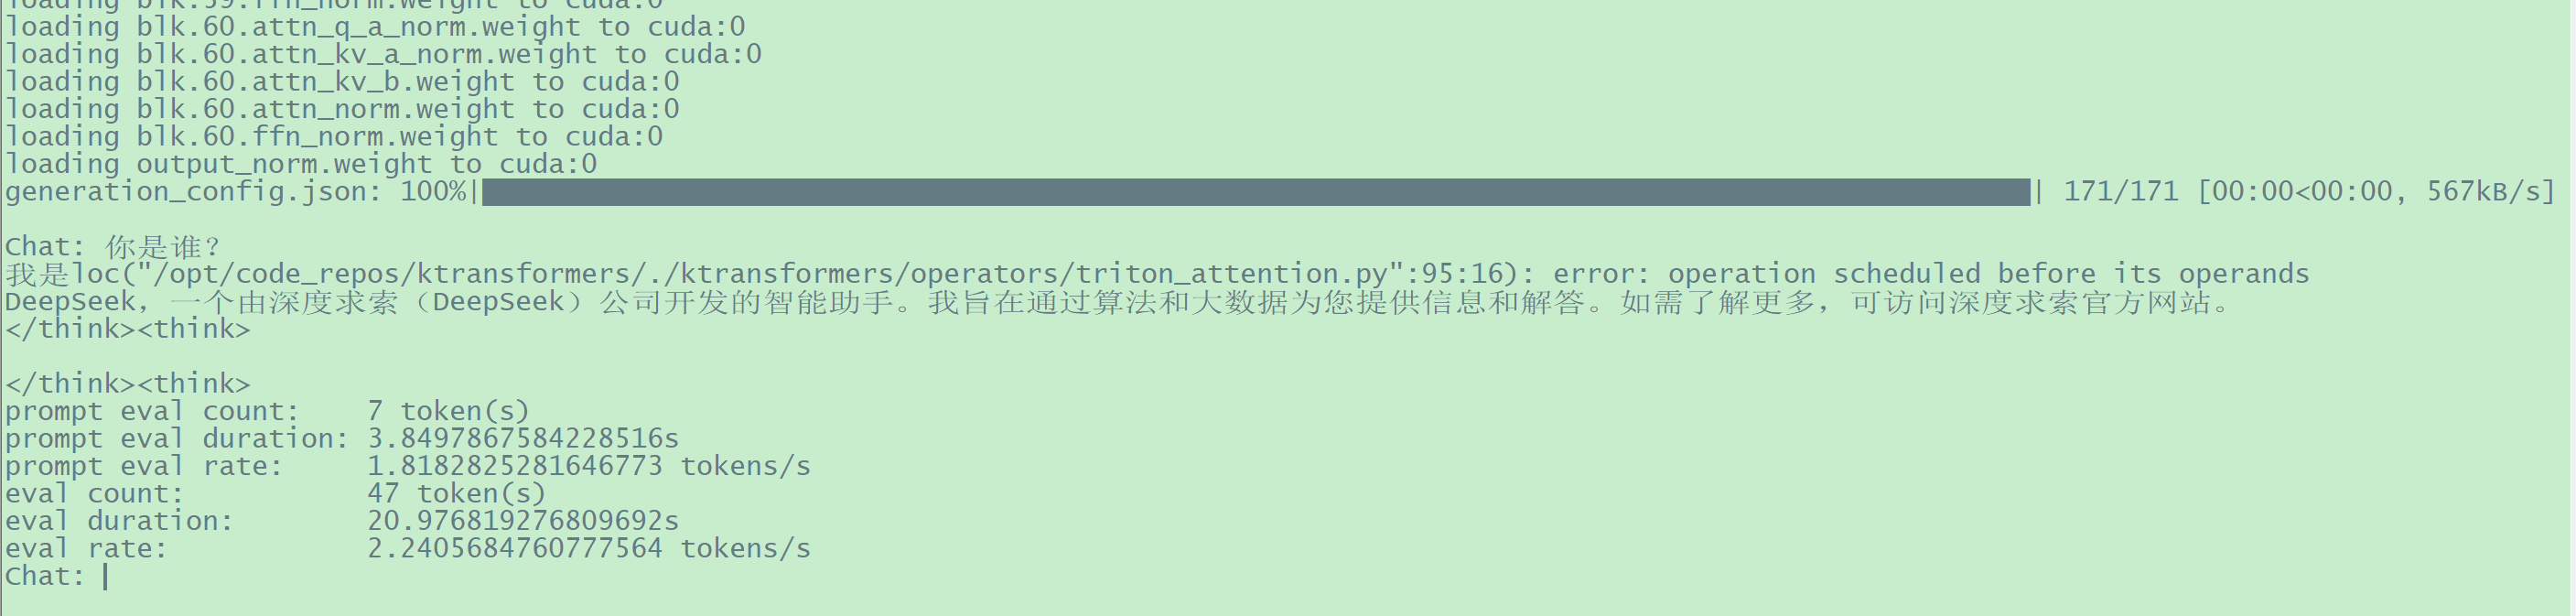
最终看到对话窗口:
image-20250319174522477
加载过程中及完成后,占用的内存很少:
image-20250319175945166
但GPU 显存占用较多,但远没满
image-20250319180135883
3.5.2 报错与处理
3.5.2.1 couldn't connect
to 'https://huggingface.co'
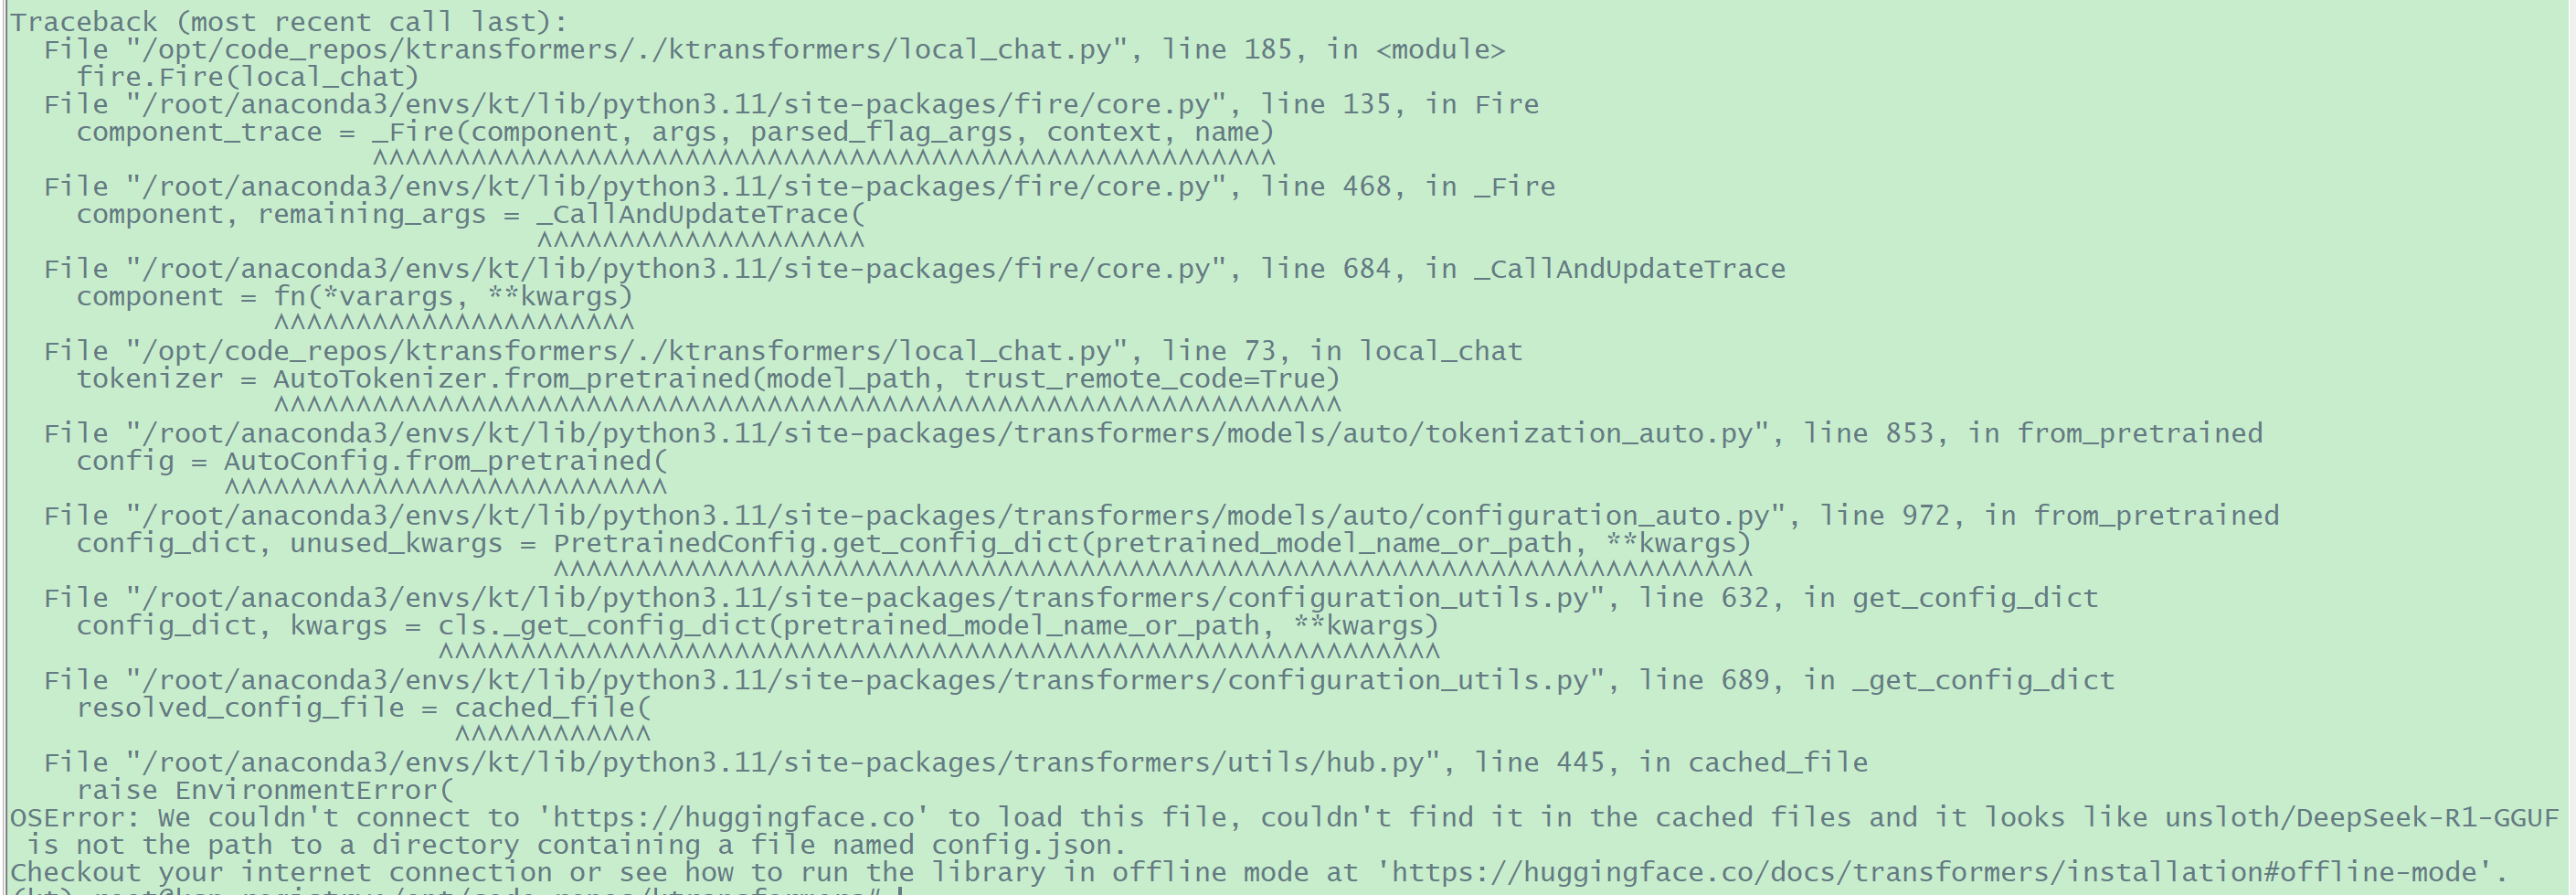
第一次,笔者执行命令python ./ktransformers/local_chat.py --model_path unsloth/DeepSeek-R1-GGUF --gguf_path /opt/code_repos/AI_models/DeepSeek-R1-GGUF/DeepSeek-R1-Q4_K_M --cpu_infer 36 --max_new_tokens 8192时,提示
“OSError: We couldn't connect to 'https://huggingface.co' to load
this file, couldn't find it in the cached files and it looks like
unsloth/DeepSeek-R1-GGUF is not the path to a directory containing a
file named config.json.
Checkout your internet connection or see how to run the library in
offline mode at
'https://huggingface.co/docs/transformers/installation#offline-mode'.”
具体如下:
image-20250318162546417
解决办法:
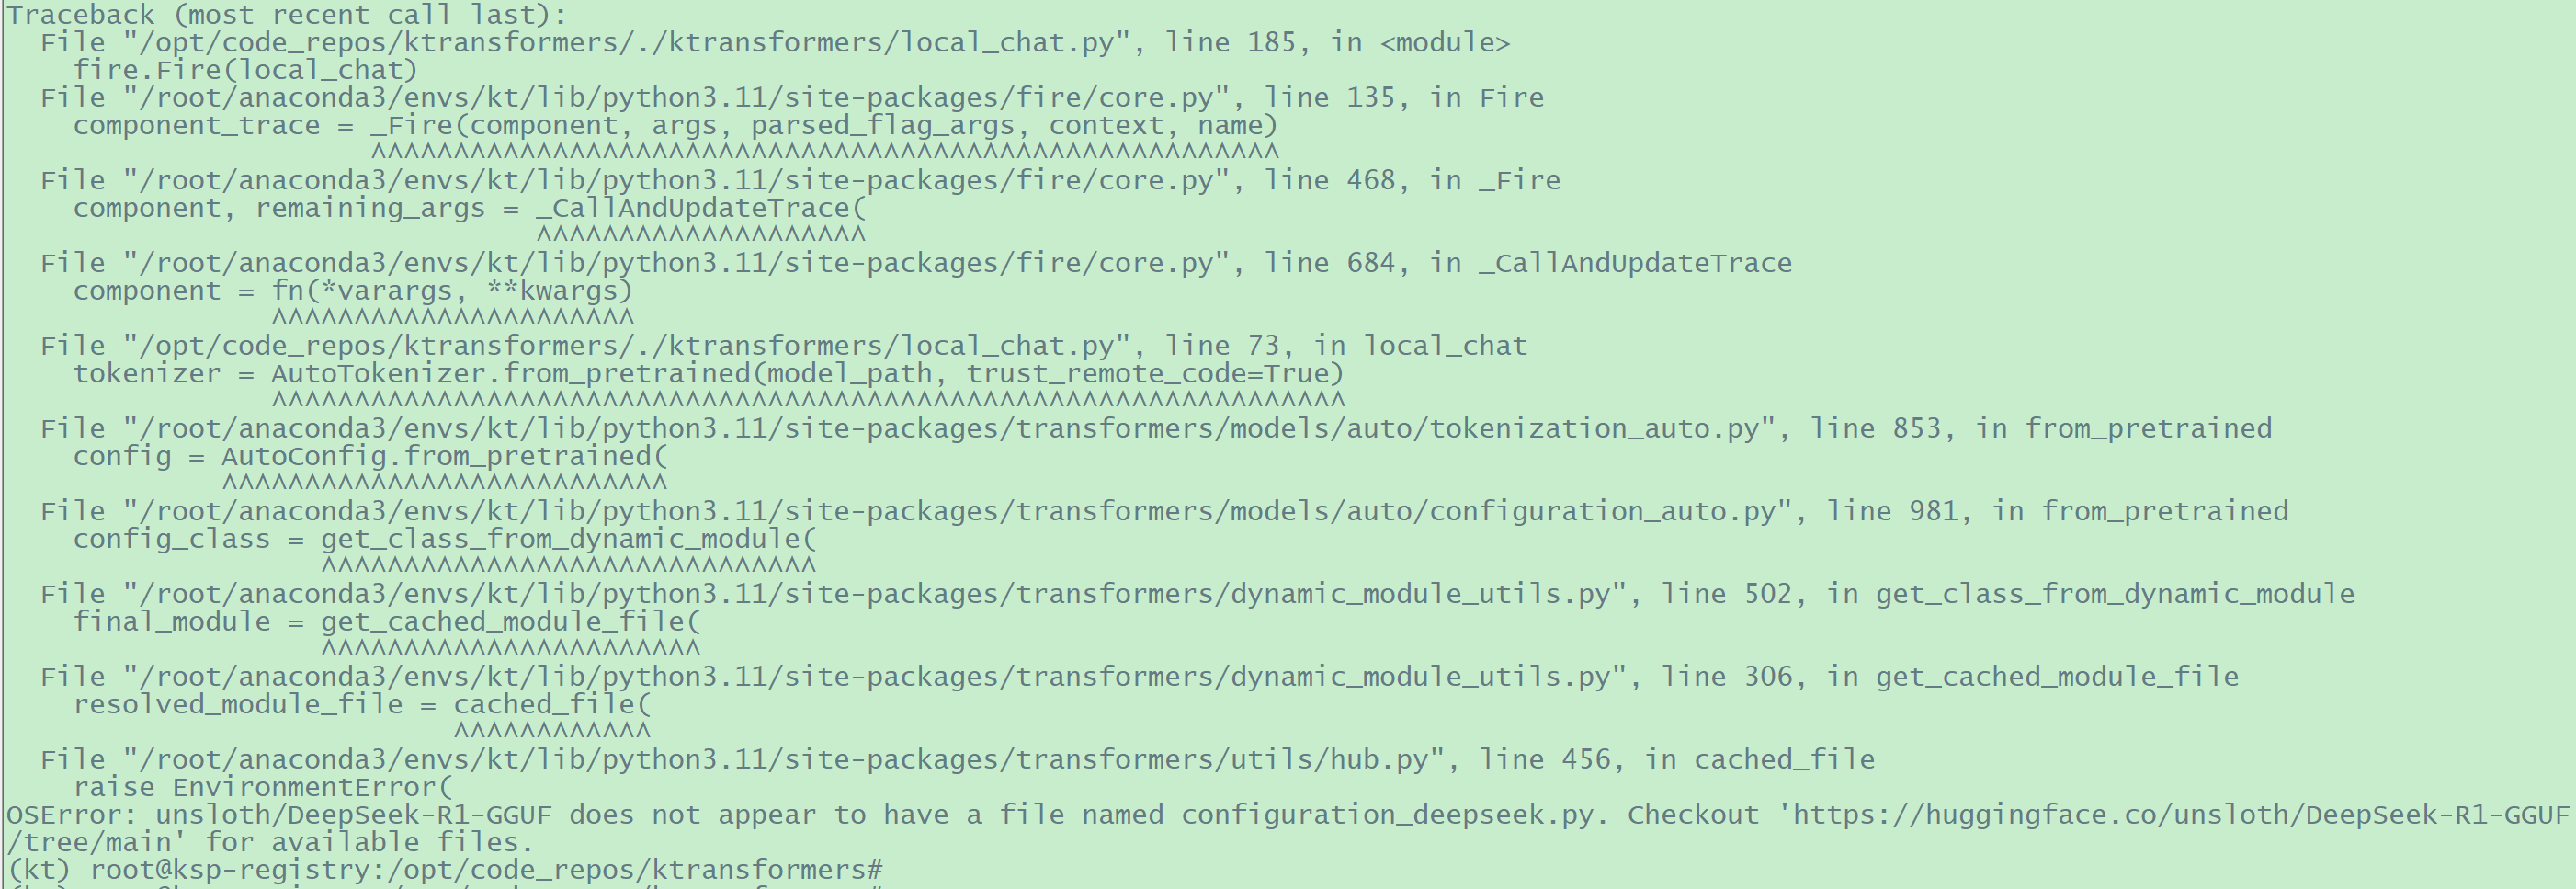
1 2 3 4 5 6 # 参考https://github.com/huggingface/diffusers/issues/6223 # 添加变量 # 再次执行 # 此时还是报错,但报错内容不一样。如下“OSError: unsloth/DeepSeek-R1-GGUF does not appear to have a file named configuration_deepseek.py. Checkout 'https://huggingface.co/unsloth/DeepSeek-R1-GGUF/tree/main' for available files.”
image-20250319101437770
1 2 3 4 # 笔者先前在“https://modelscope.cn/models/unsloth/DeepSeek-R1-GGUF/files”下载的"DeepSeek-R1-Q4_K_M" 相关文件,但此链接下并没有上述报错中提到的(启动对话过程中需要用到的)configuration_deepseek.py 文件,根据KT官网的示例,需要指定“--model_path deepseek-ai/DeepSeek-R1”,此时再执行就会正常下载configuration_deepseek.py 文件并继续往后执行了
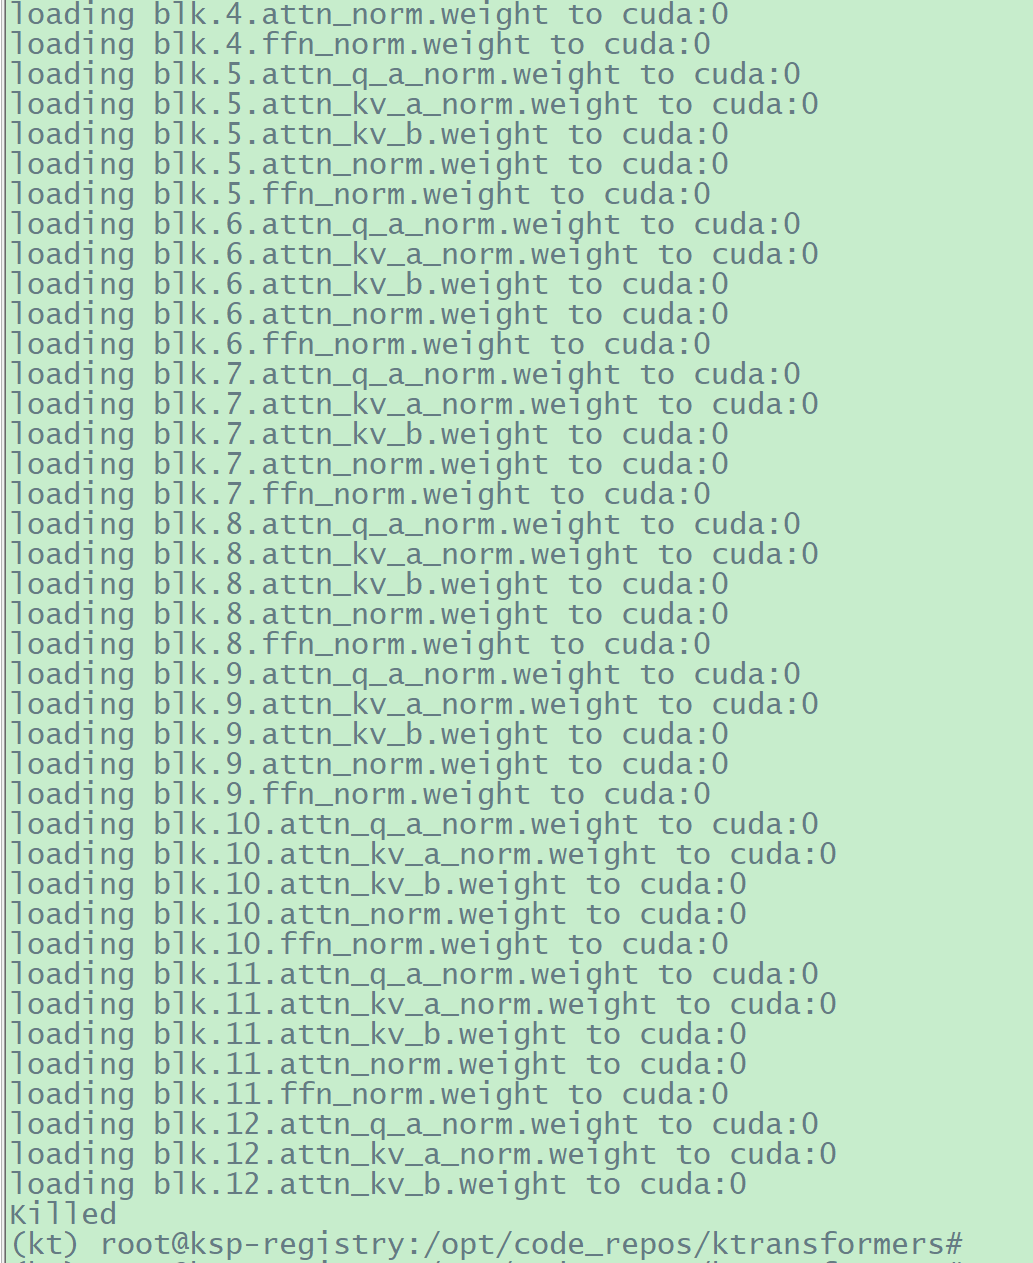
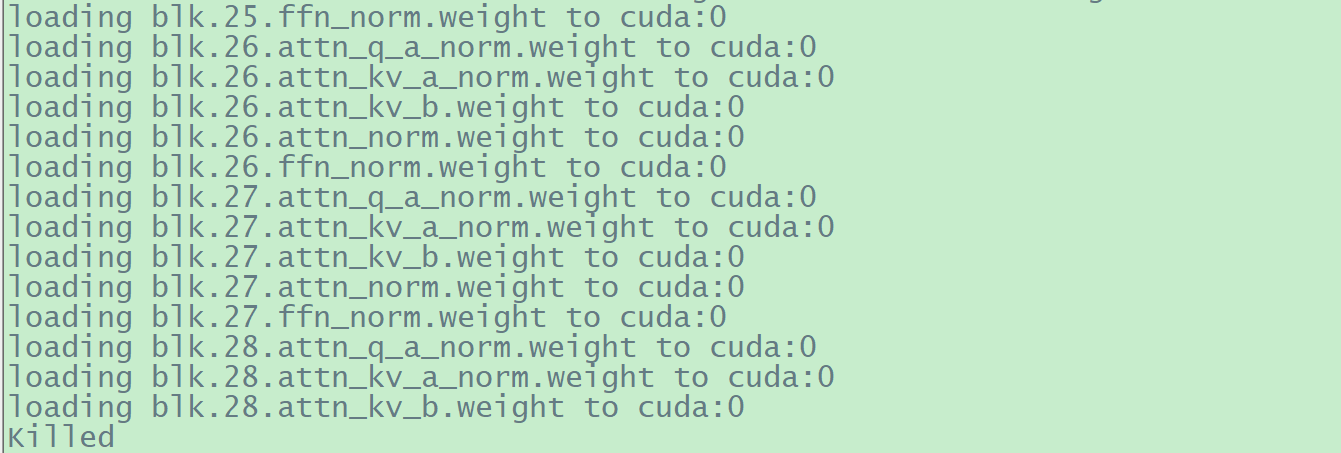
3.5.2.2 内存不够,被 killed
1 2 3 4 5 (kt) root@ksp-registry:/opt/code_repos/ktransformers# export USE_NUMA=1
同时可以看到可用内存急剧下降。
此服务器只有503G总内存,加载块的过程中因为内存不足,进程最终被自动杀死:
1 2 3 4 5 6 7 8 9 10 11 12 13 14 15 16 # 创建 800GB 的 Swap 文件(因为笔者此服务器安装操作系统的系统盘就是SSD盘,所以直接从系统盘中划分出300G) # 将文件或分区初始化为交换空间 # 启用交换文件 # 查看物理内存与交换内存 # 删除交换空间 # swapoff /swapfile # rm /swapfile
1 2 3 4 5 # #
解决办法:
1 2 3 4 # 此步骤很关键 # 重新安装KTransformers
image-20250319174522477
3.5.2.3 安装flashinfer(可选)
每次启动模型服务时,都会提示flashinfer not found, use triton for linux using custom modeling_xxx.py.
flashinfer
是一个用于加速大型语言模型(LLM)部署的核库。它通过提供高效的内存带宽共享前缀批处理解码技术,显著提升了自注意力机制的性能。FlashInfer
支持多种 GPU 架构,包括 sm80、sm86、sm89 和 sm90,并且正在开发对 sm75 和
sm70 的支持。
其在github上的代码仓库地址:https://github.com/flashinfer-ai/flashinfer.git
官方安装文档:https://docs.flashinfer.ai/installation.html
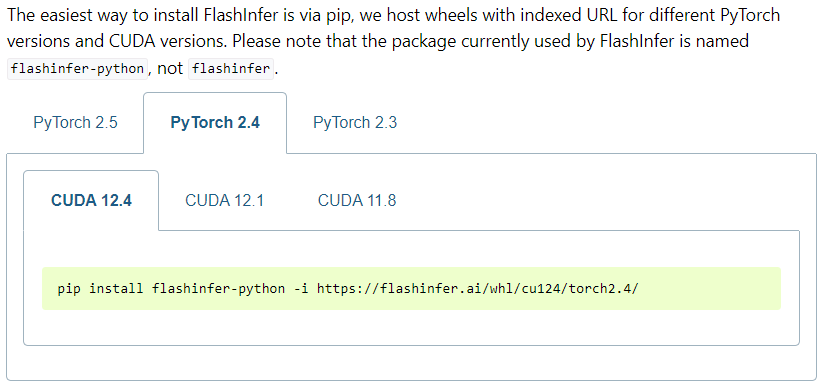
通过pip安装
image-20250319215515077
1 2 3 4 5 6 7 8 9 10 11 12 pip install flashinfer -i https://flashinfer.ai/whl/cu124/torch2.4/# 或 # # replace pip install flashinfer -i https://flashinfer.ai/whl/cu121/torch2.3 with: # install JIT version:
通过源码安装
参考官方文档:https://docs.flashinfer.ai/installation.html#install-from-source
1 git clone -b v0.2.1.post1 https://github.com/flashinfer-ai/flashinfer.git --recursive